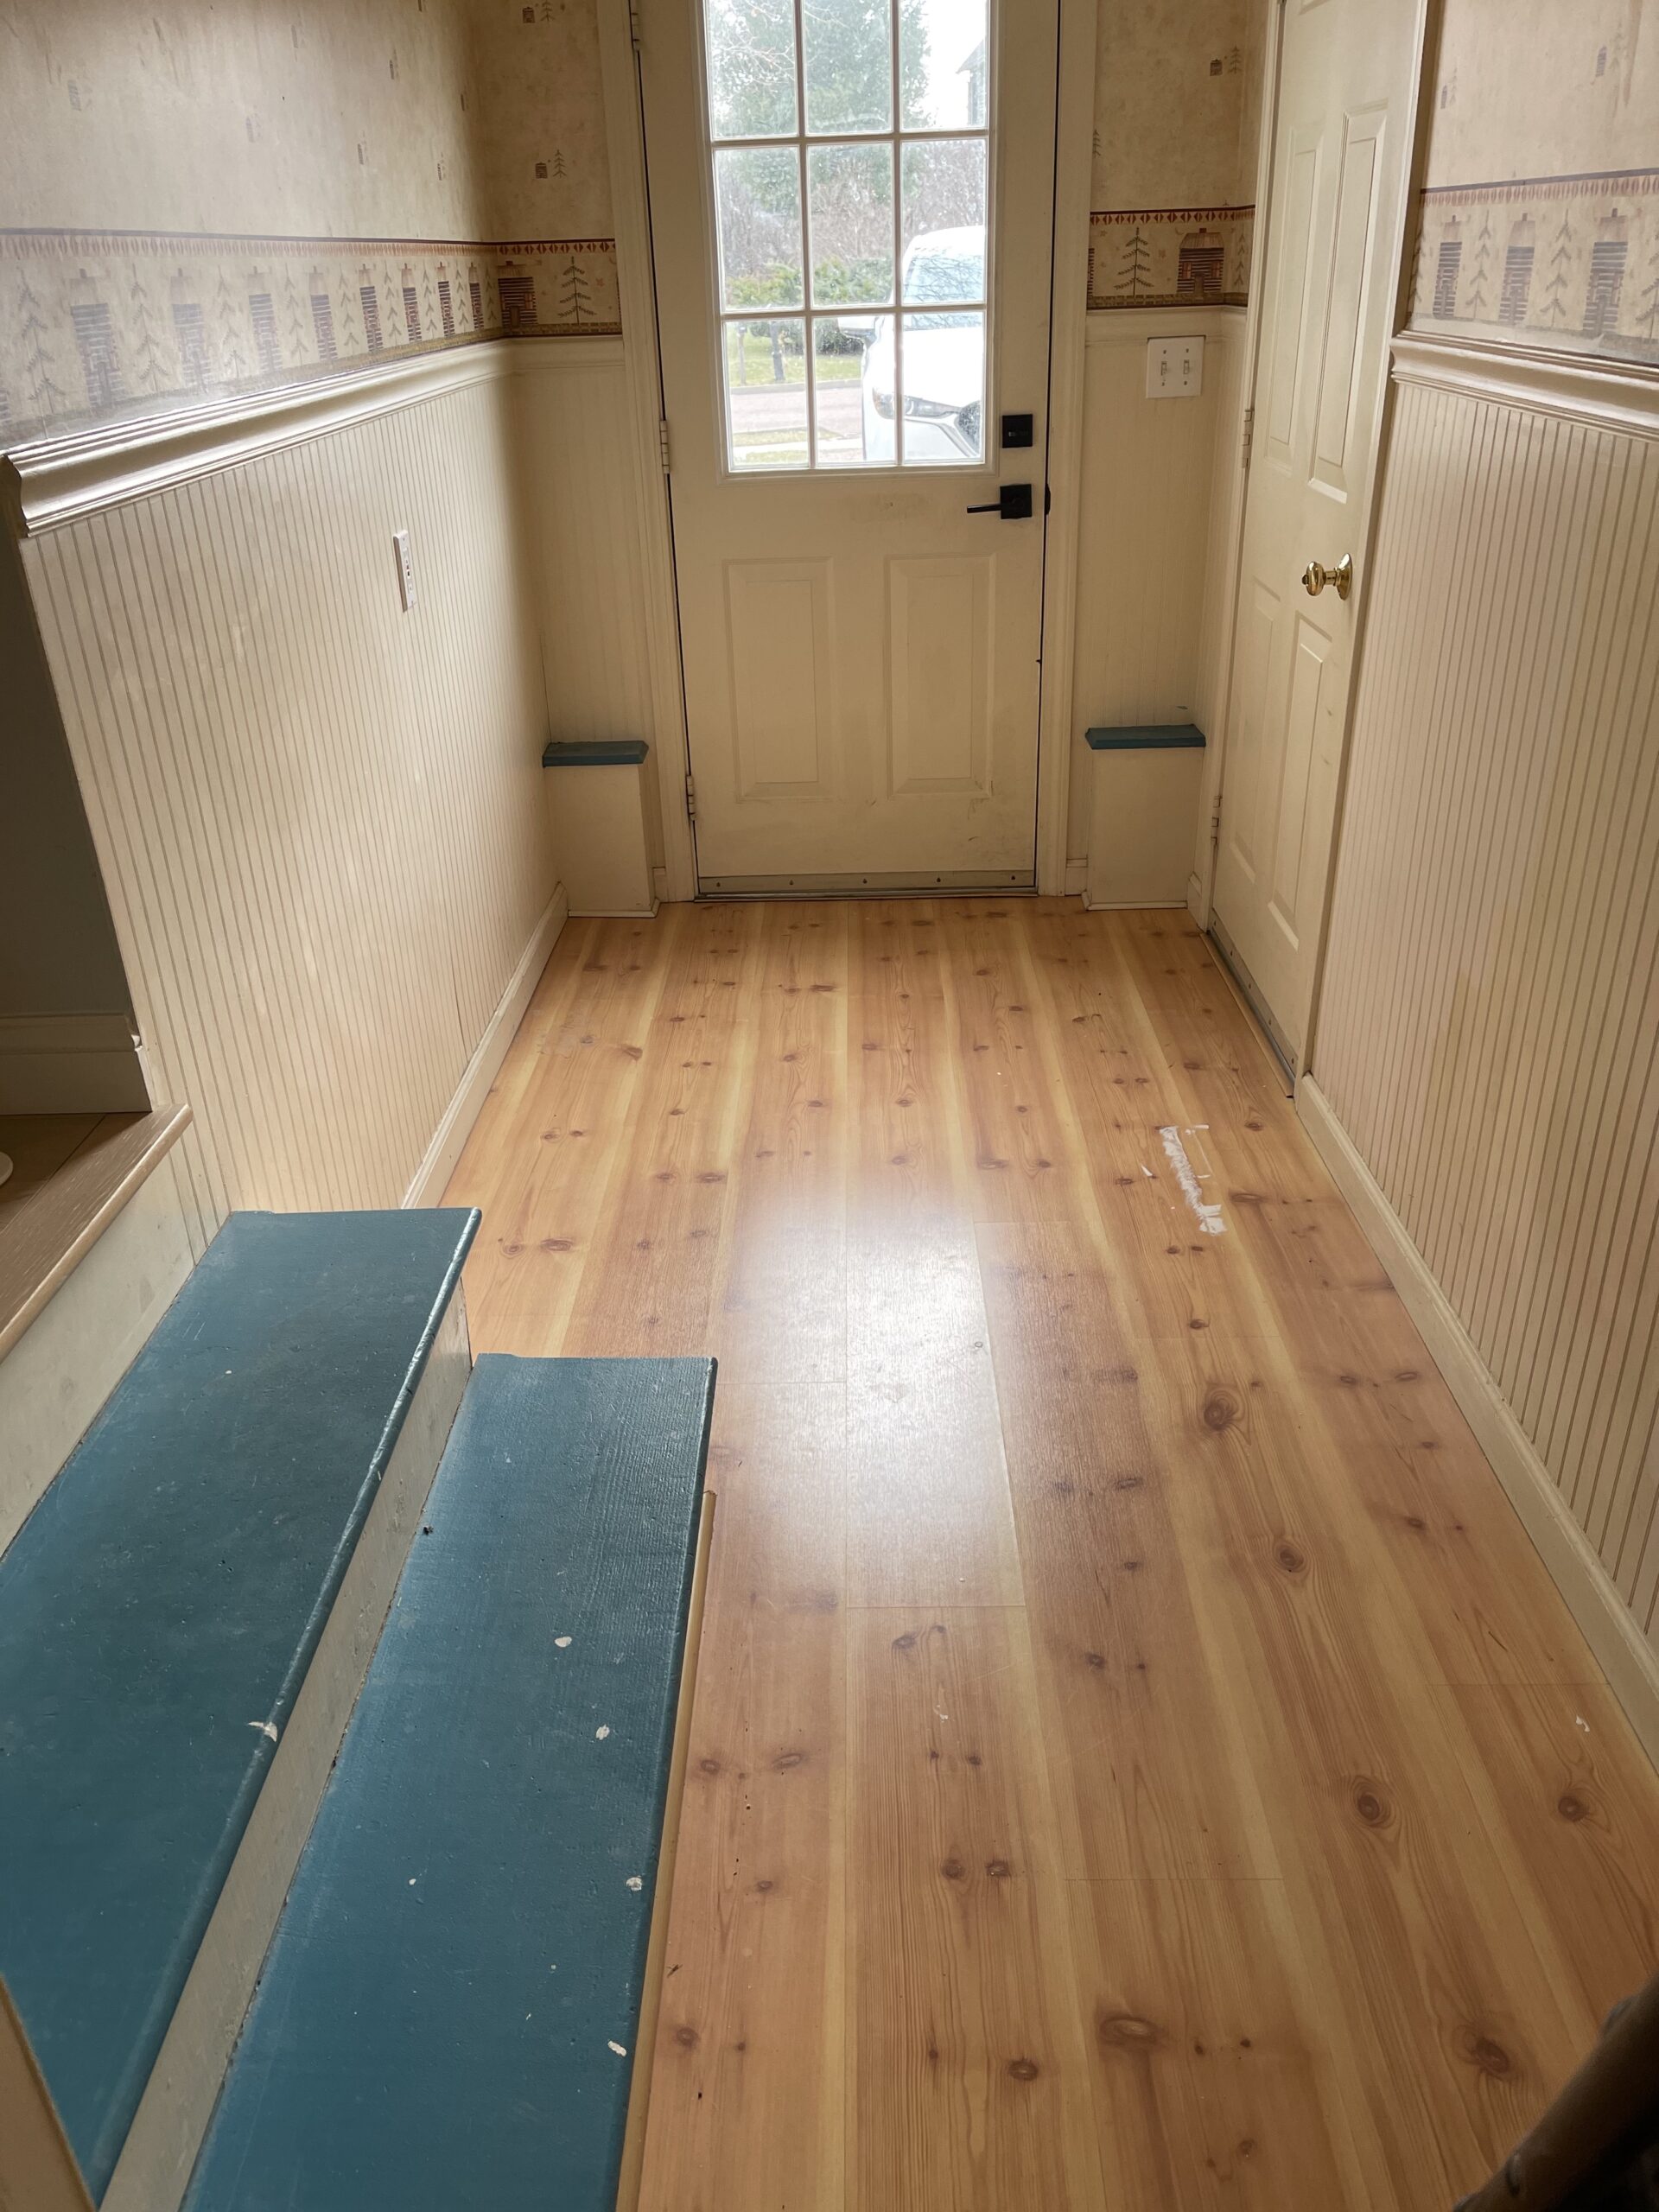
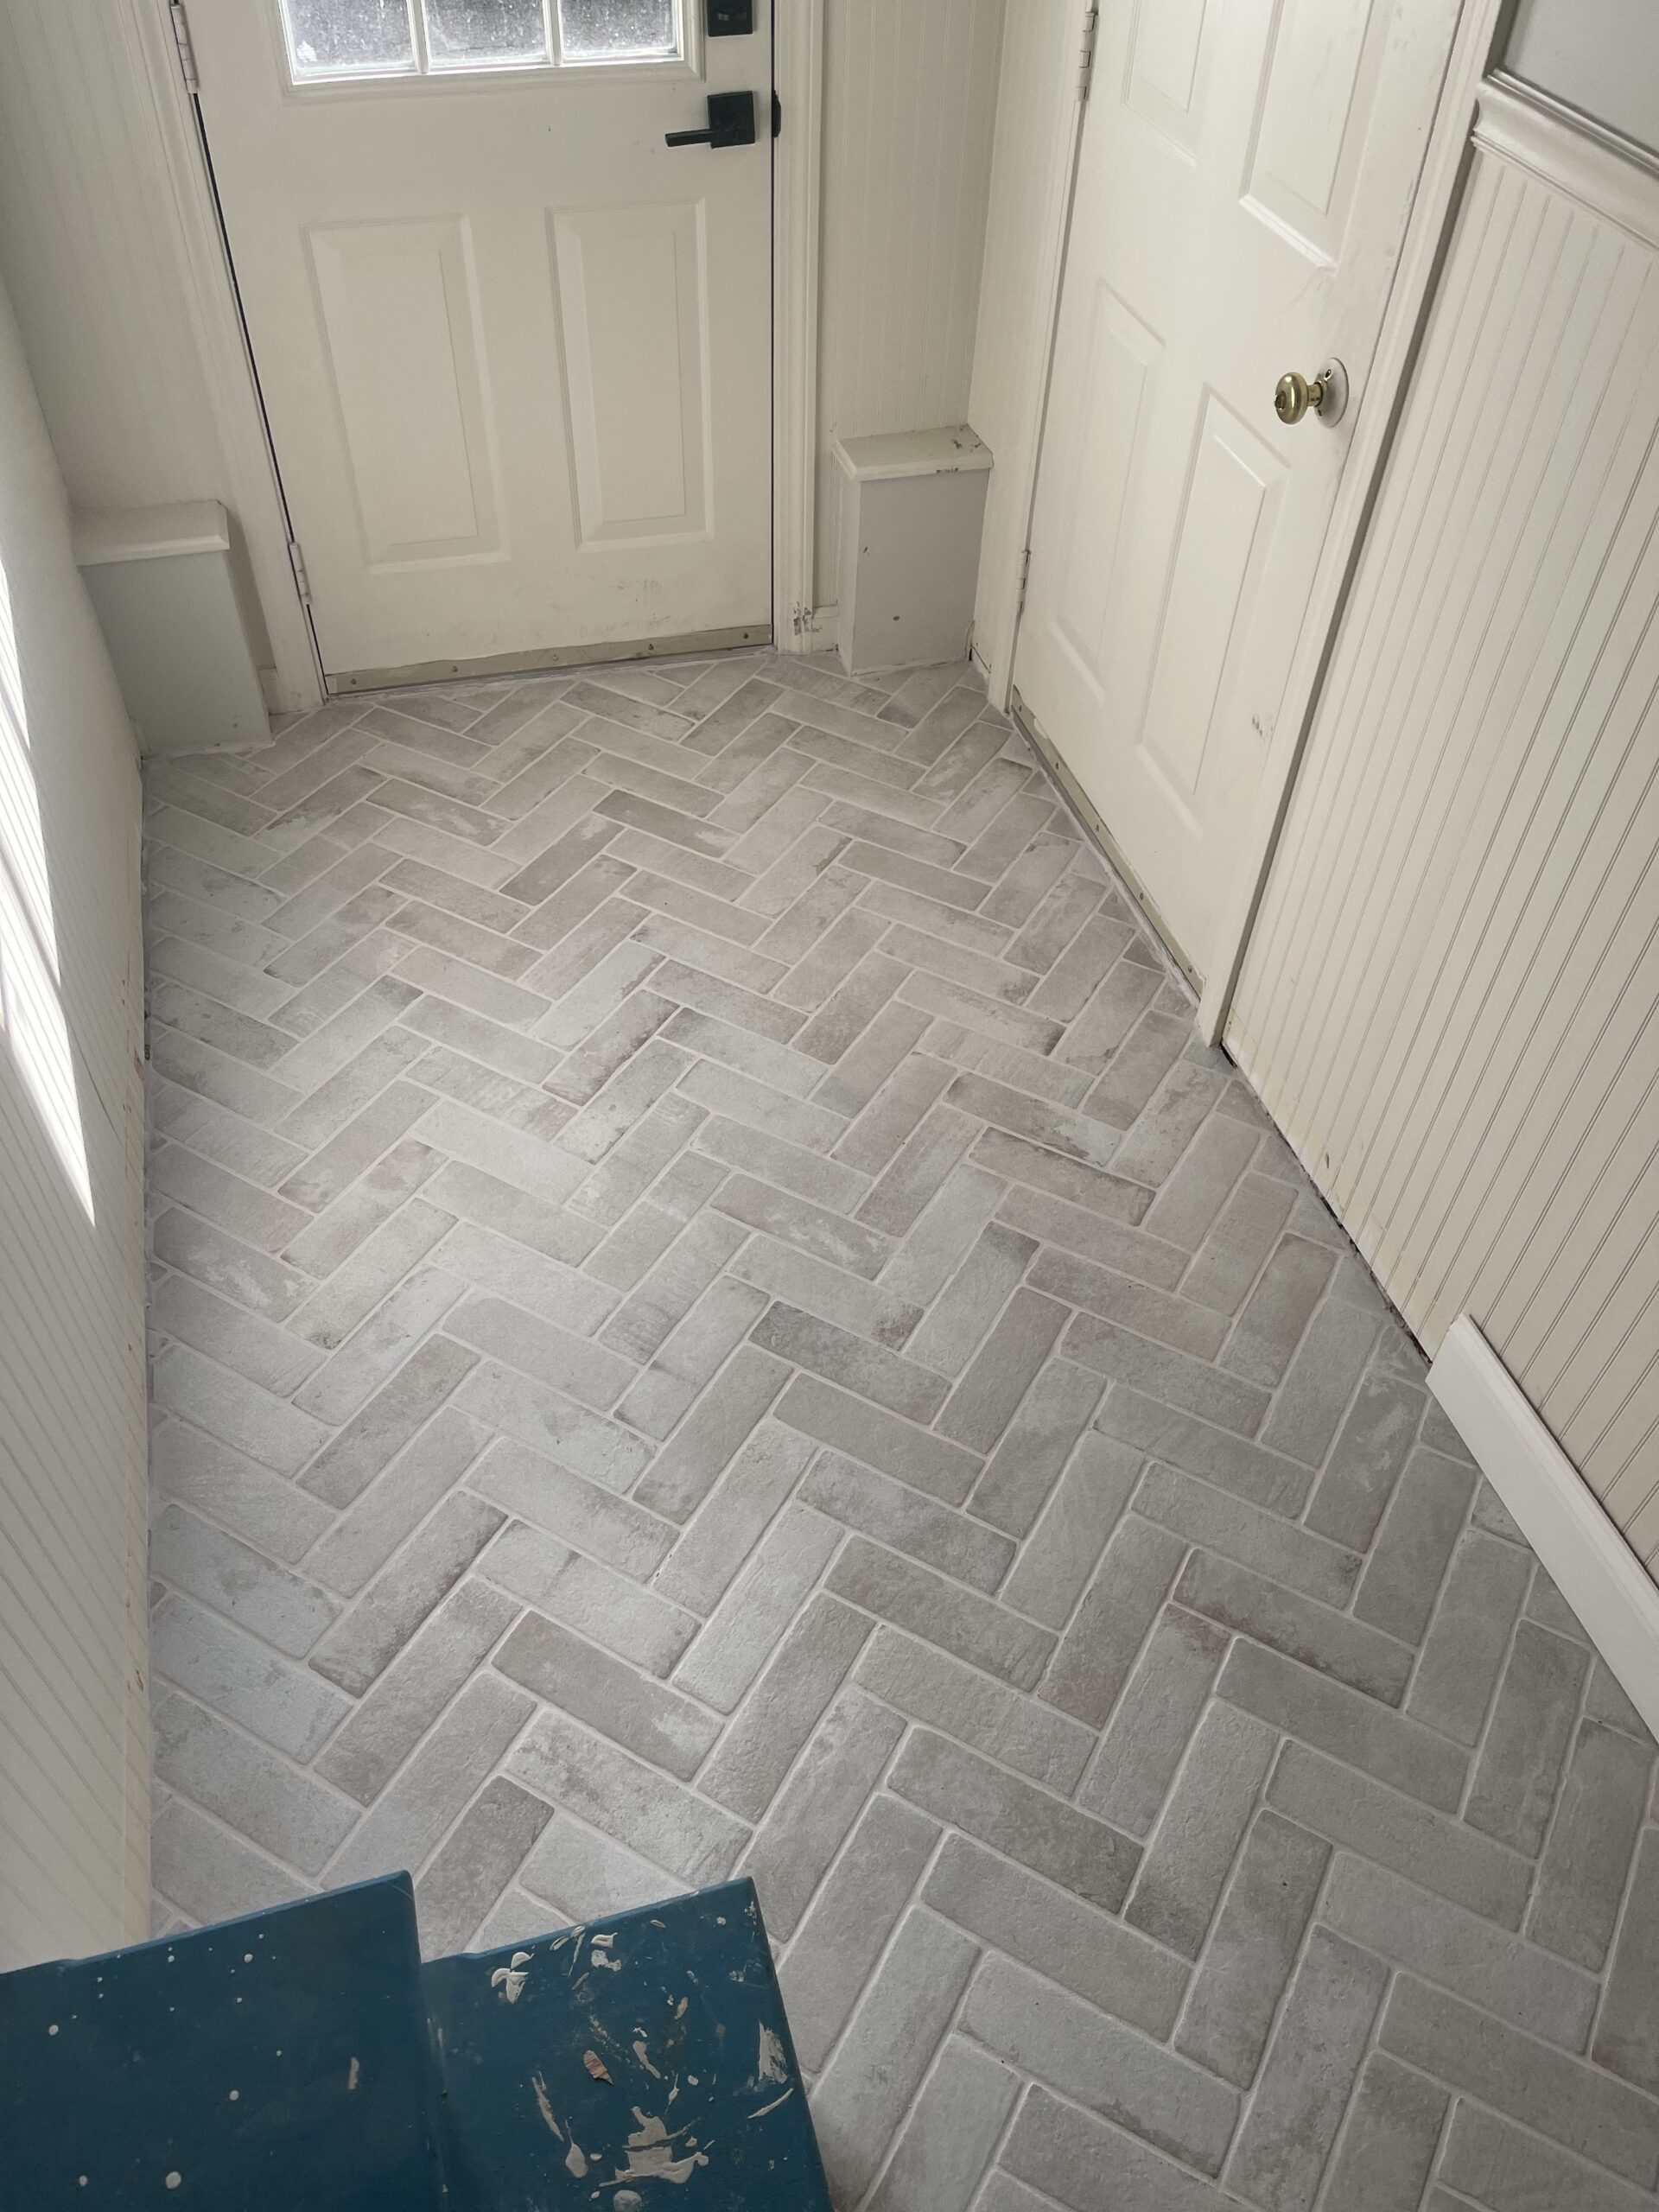
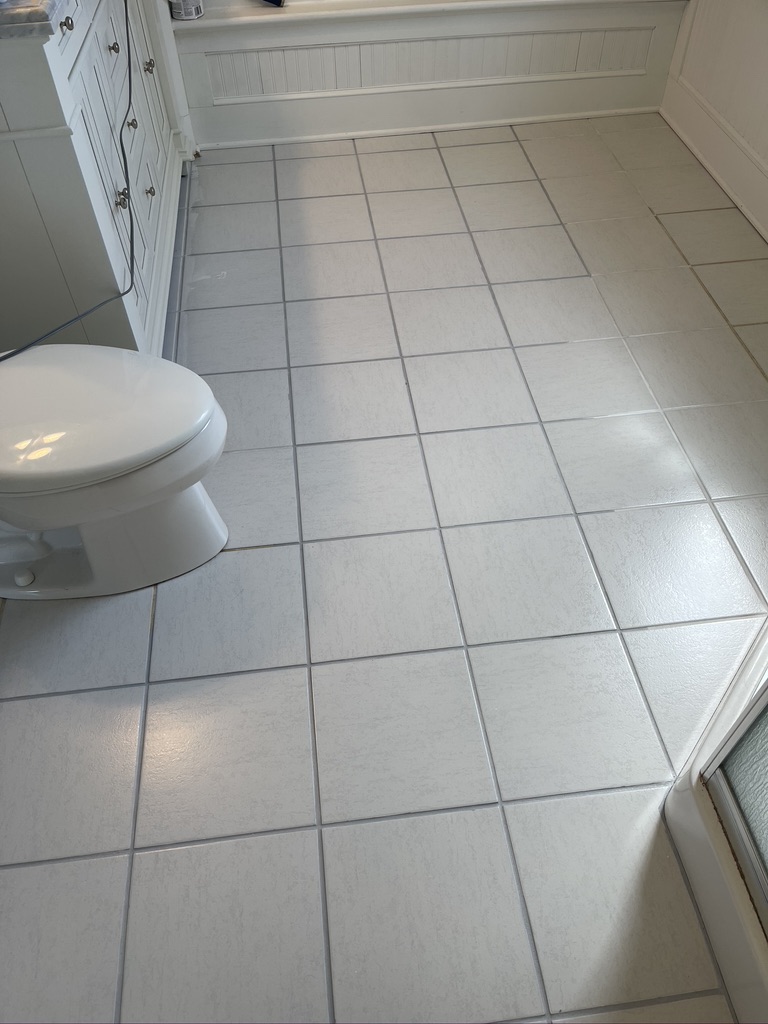
When our quick vanity swap out went sideways, I’m not going to lie – I panicked a little. We pulled out the old double-sink vanity to find that the floor tiles didn’t run underneath and instead was met with subfloor.
My stomach dropped, but Matt and I quickly went into problem-solving mode. I think that’s been one of the biggest learning opportunities for me with this house renovation – every project comes with the unforeseen challenges that push me to think outside the box.
Luckily, I found inspiration from Lauren at Farmhousish. She painted and stenciled her bathroom floor tiles, and I thought, hmmm, why not?
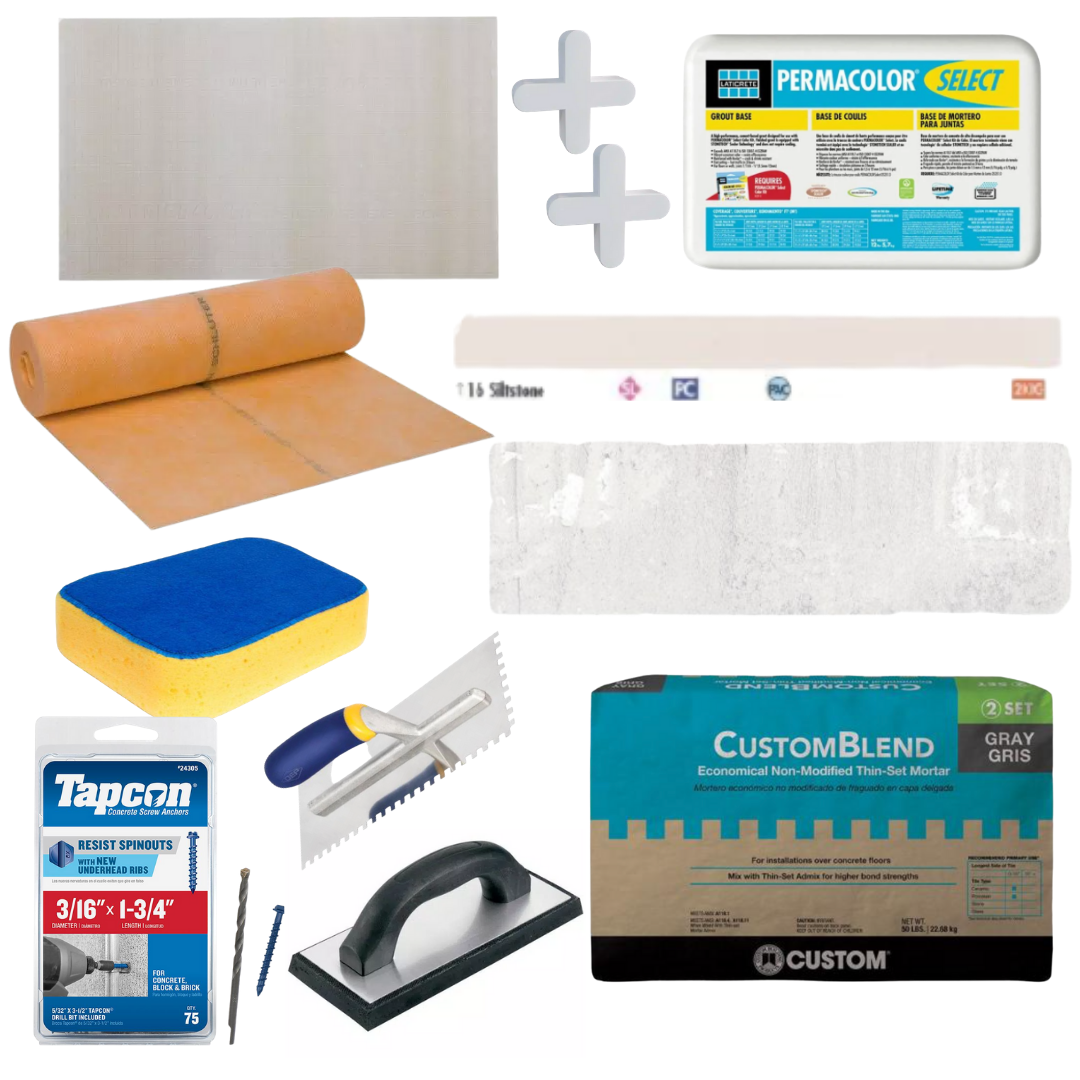
First things, first, though, we had to fill in the subfloor with tiles. So, we bought the same size and material floor tiles to patch up the space. Then came the real fun.
I did a lot of research to make sure that the approach would be durable enough to get us three-to-five years, which is realistically when we’re planning to gut the full bathroom. Once I had my plan, I bought my materials. Here’s what you’ll need:
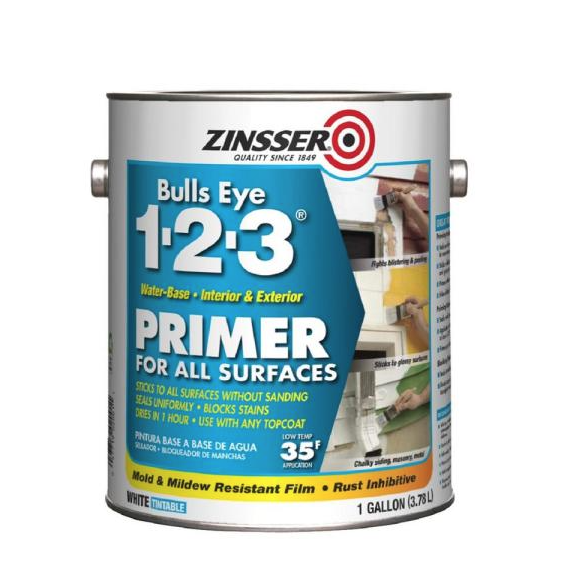


- Zinsser Bulls Eye 1-2-3 Primer
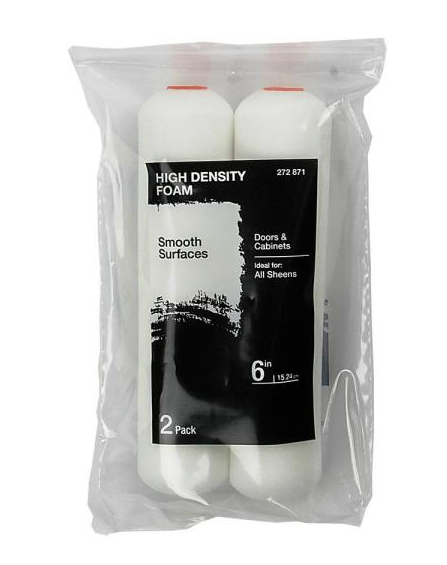
- Foam Roller
- Foam Roller Covers
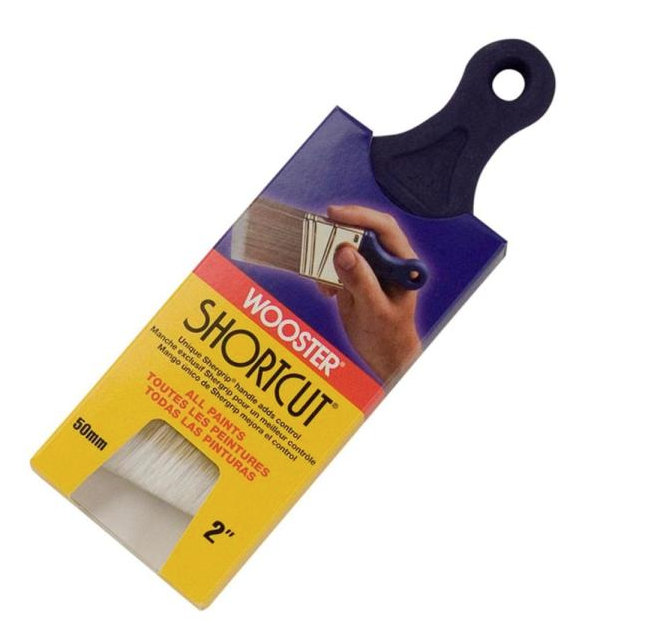
- Paint Brush
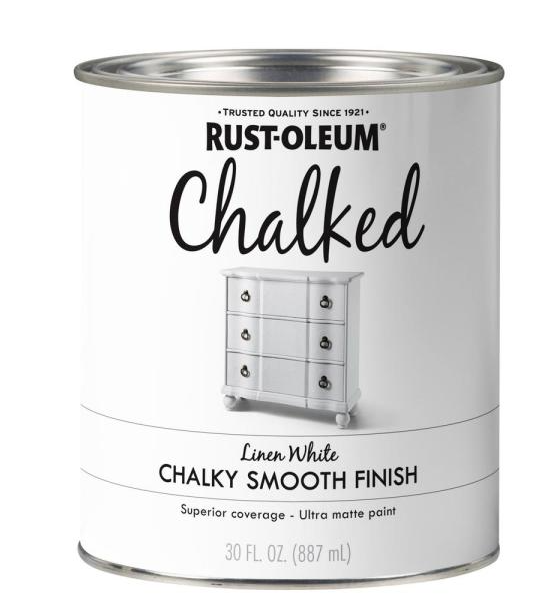
- Rust-Oleum Interior Chalked Paint – Color Linen White
- Cutting Edge Floor Stencil in Primavera, Size Large (12×12)
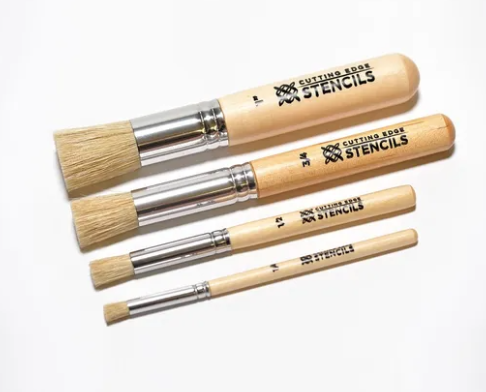
- Four Piece Professional Stencil Brush Kit
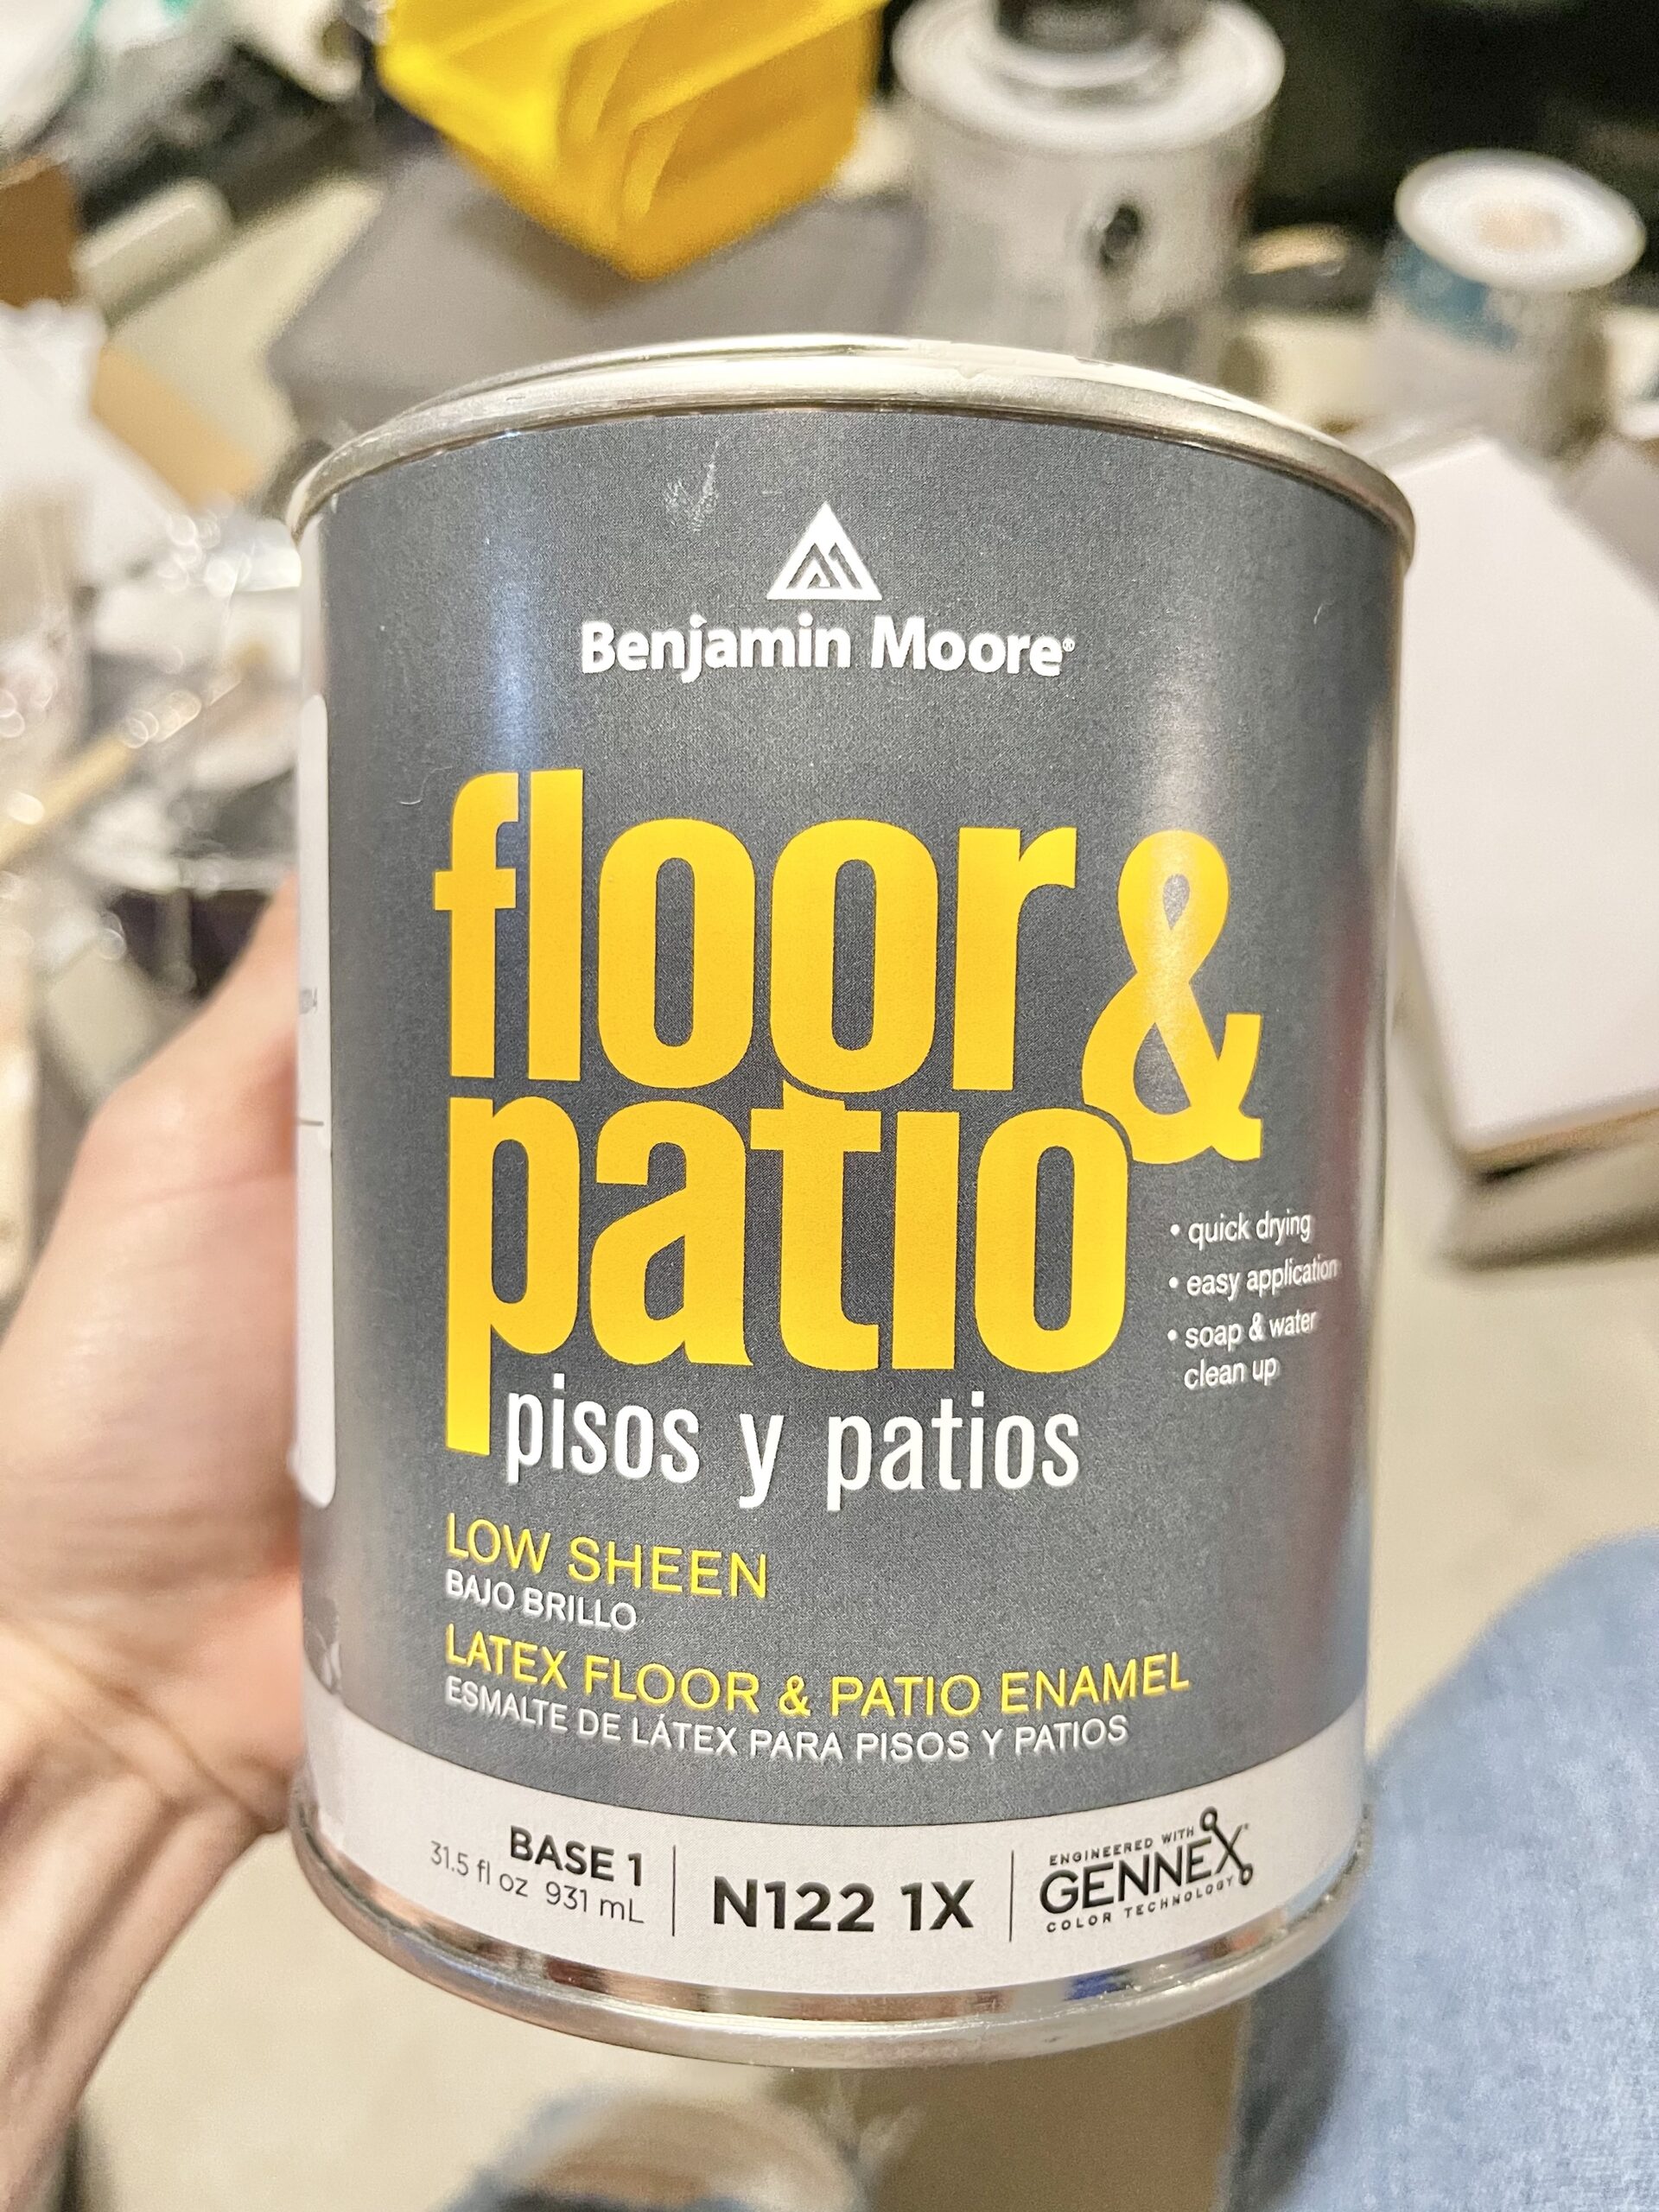
For the floor paint color and sealer, I went to our local paint store, Vermont Paint Company, and asked for advice on durability and sealant. Here’s what I left with:
*I do not have links, so check with your local paint supply stores!
- Benjamin Moore Floor & Patio Low Sheen, tinted Thunder AF – 865
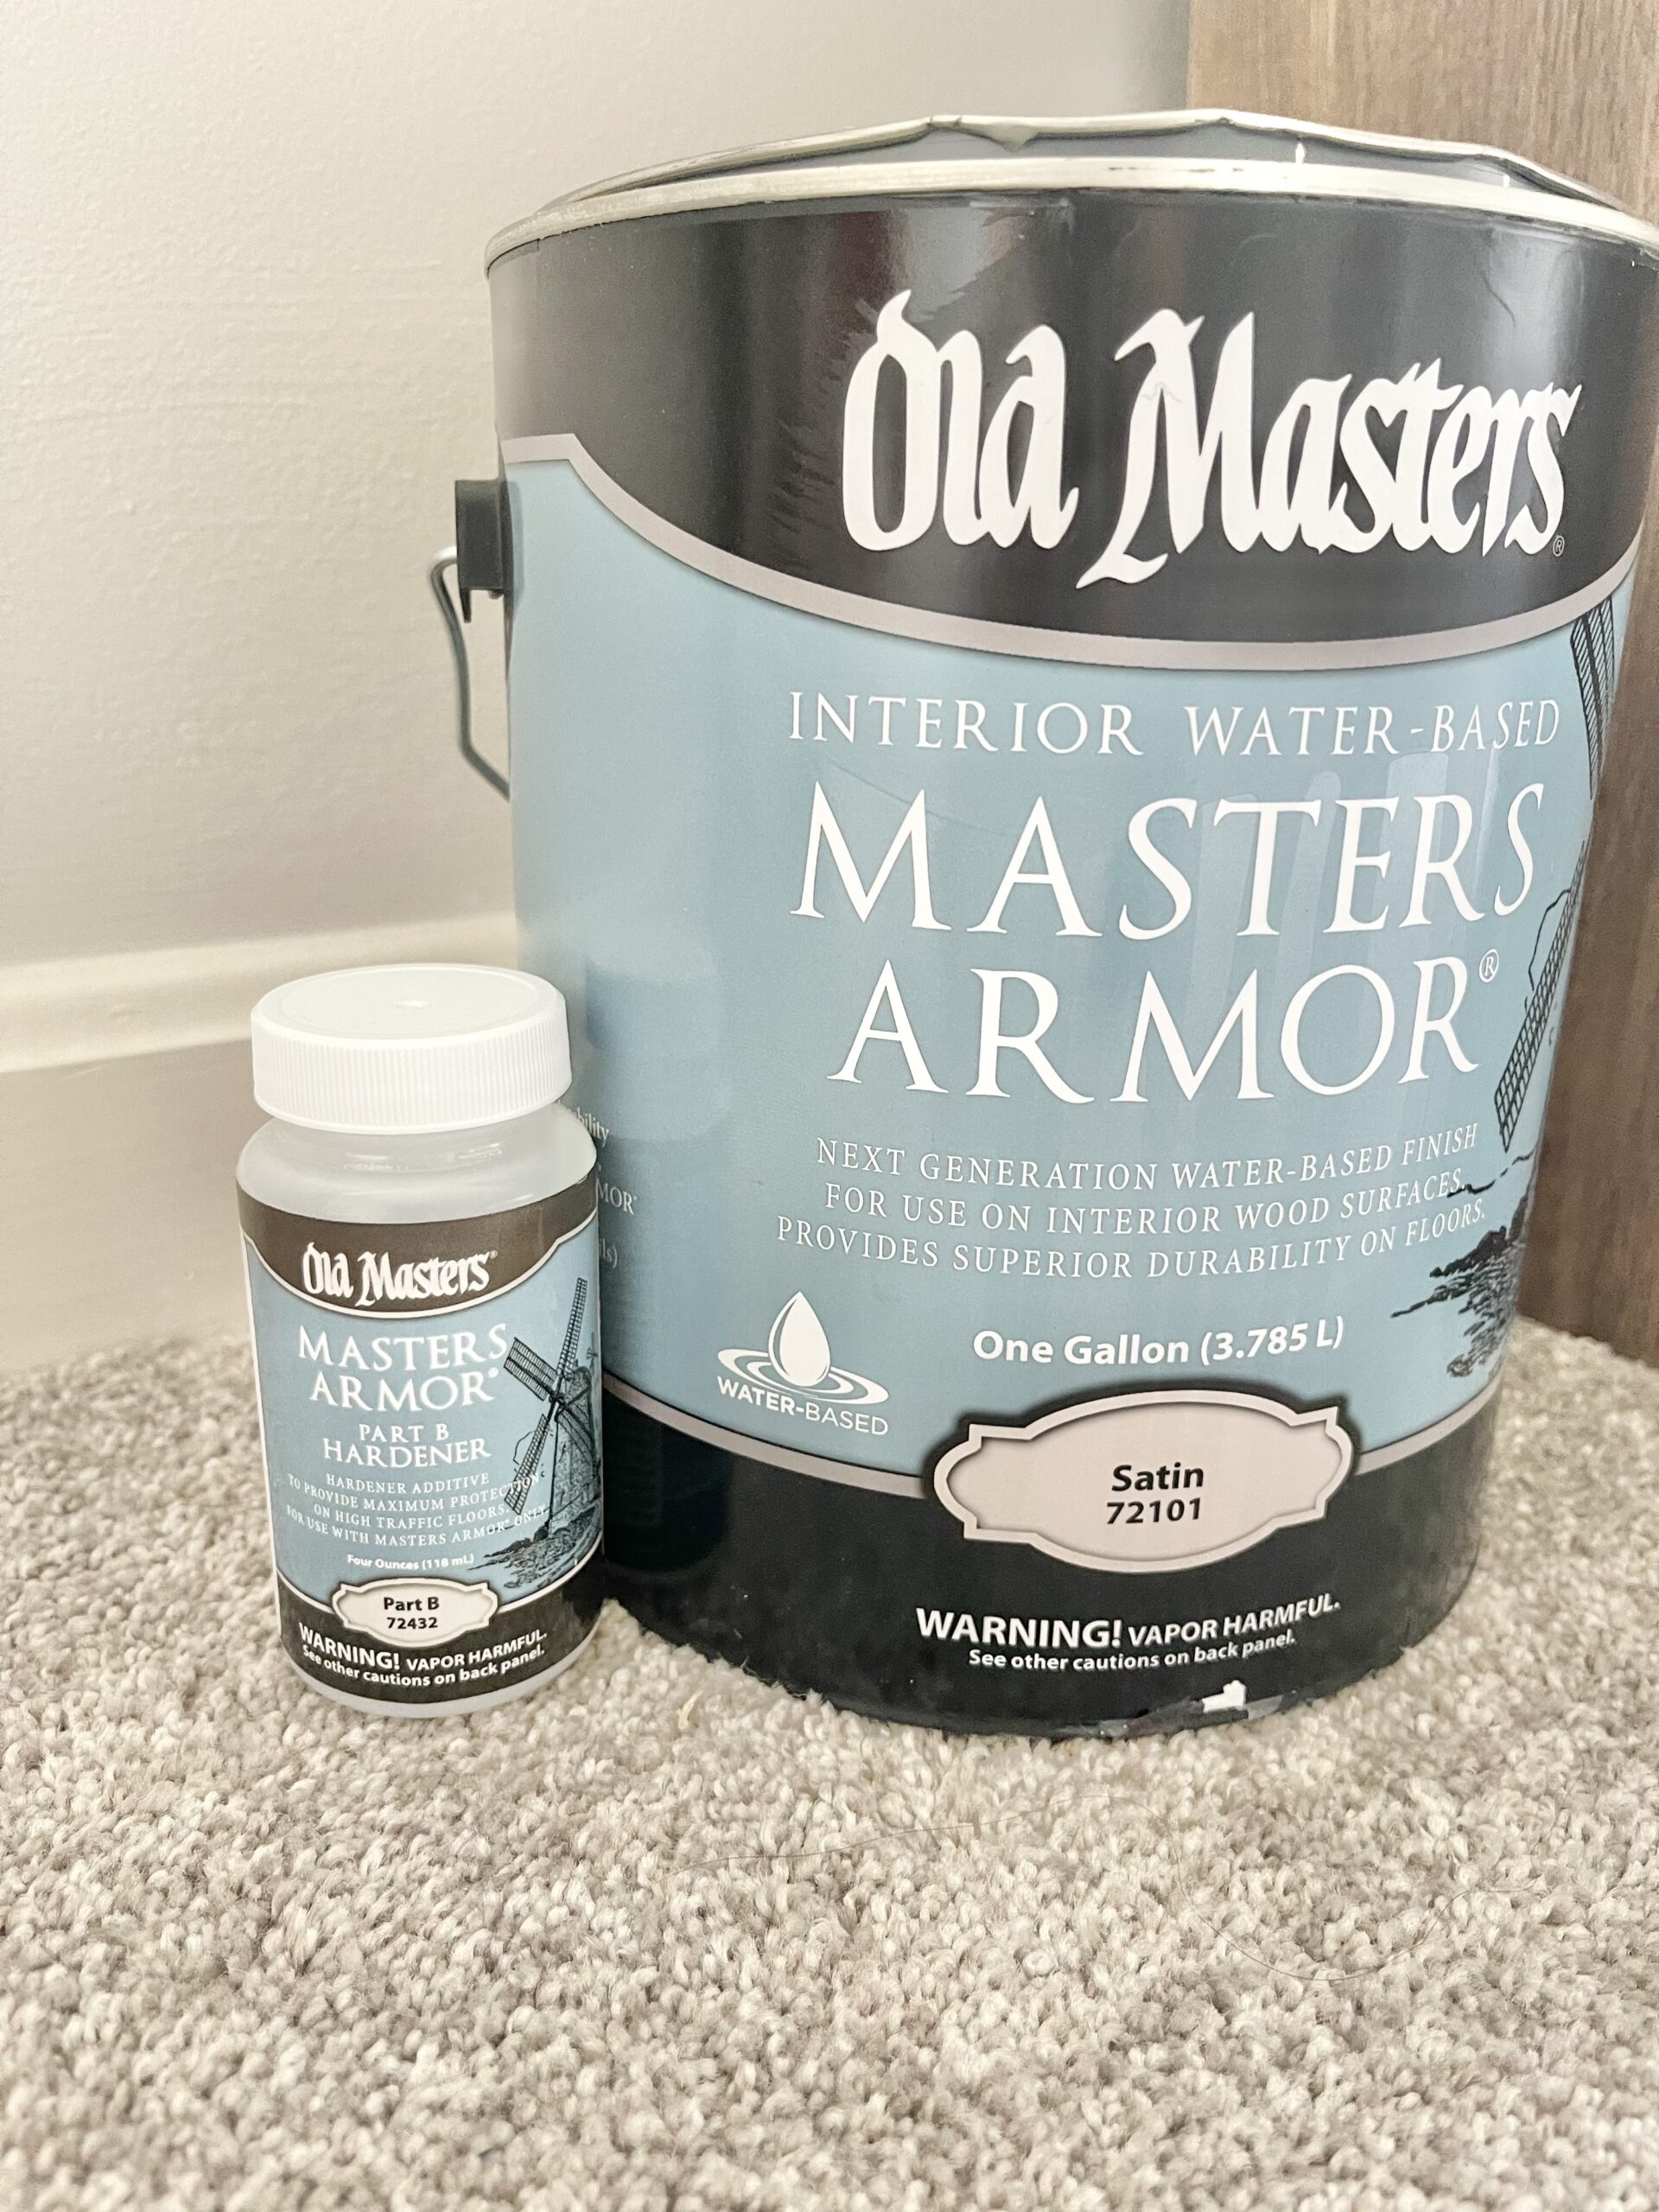
- Old Masters Masters Armor in Satin finish
- Old Masters Masters Armor Part B Hardener
Step 1: Cut and roll the entire floor with two coats of the Zinsser Primer. Let dry between coats for about 2 hours.
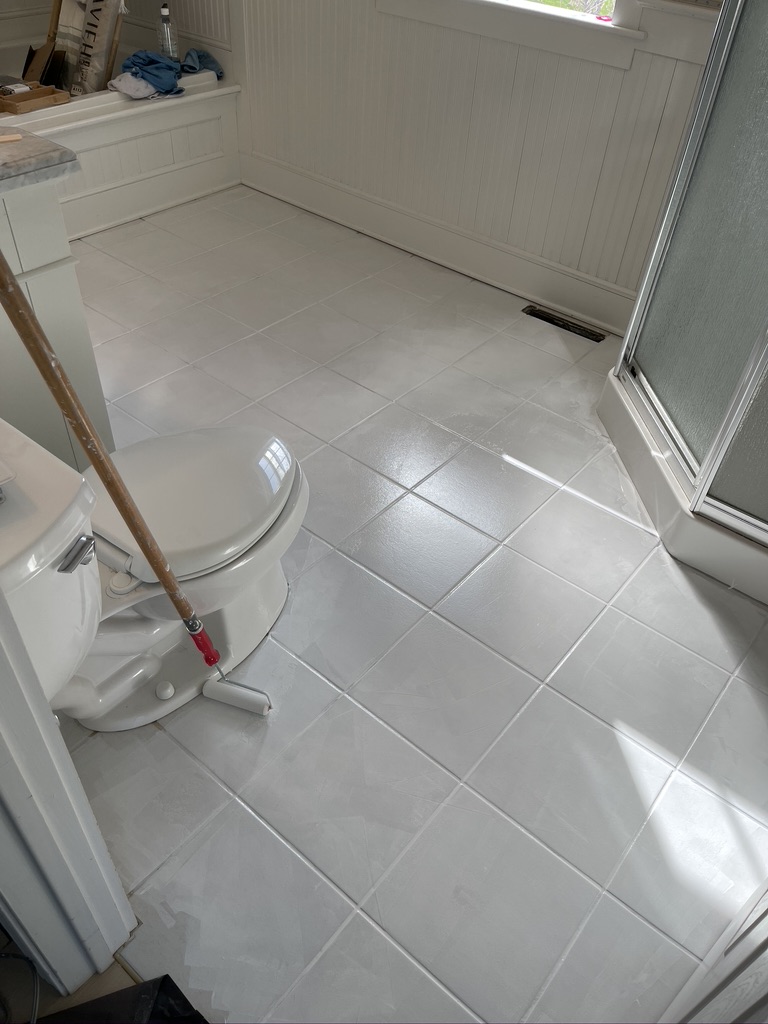
Step 2: Cut and roll the entire floor with two coats of the Chalked Linen White paint. I allowed for overnight drying on both coats on this phase because I wanted to make sure it was safe to walk on.
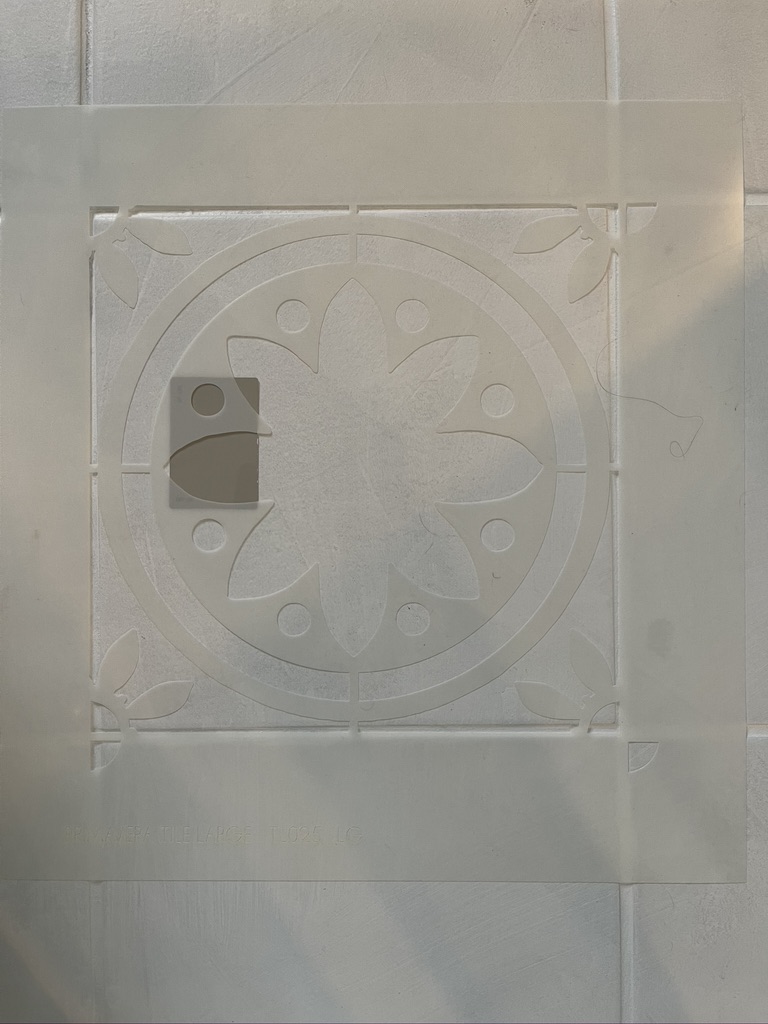
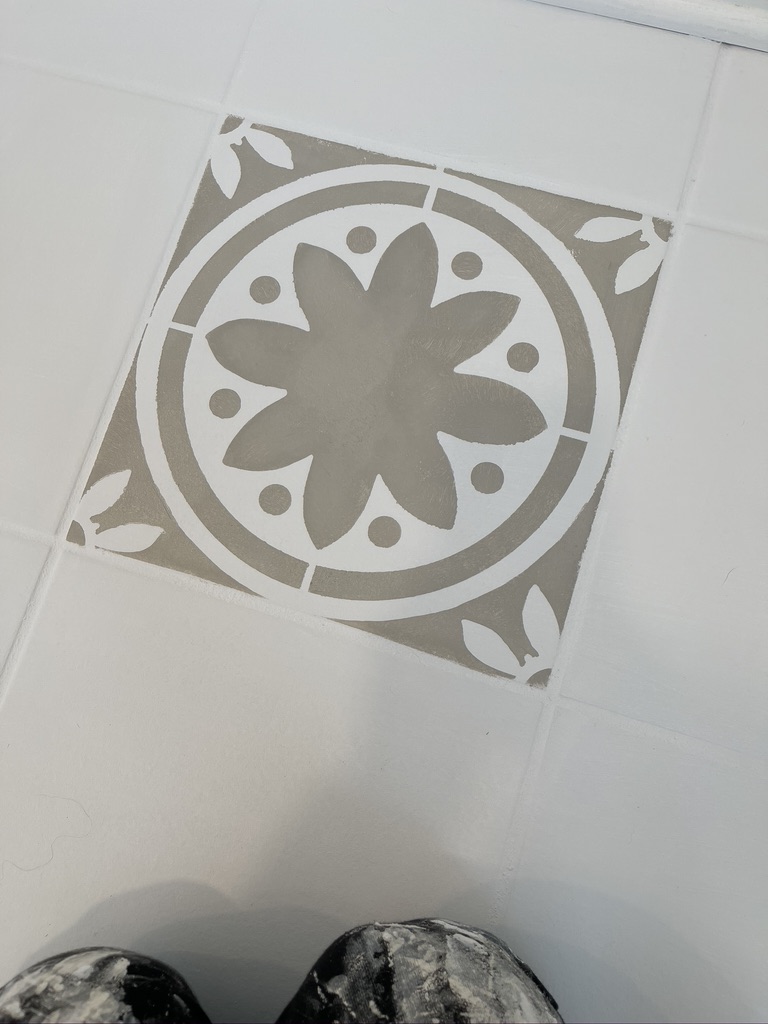
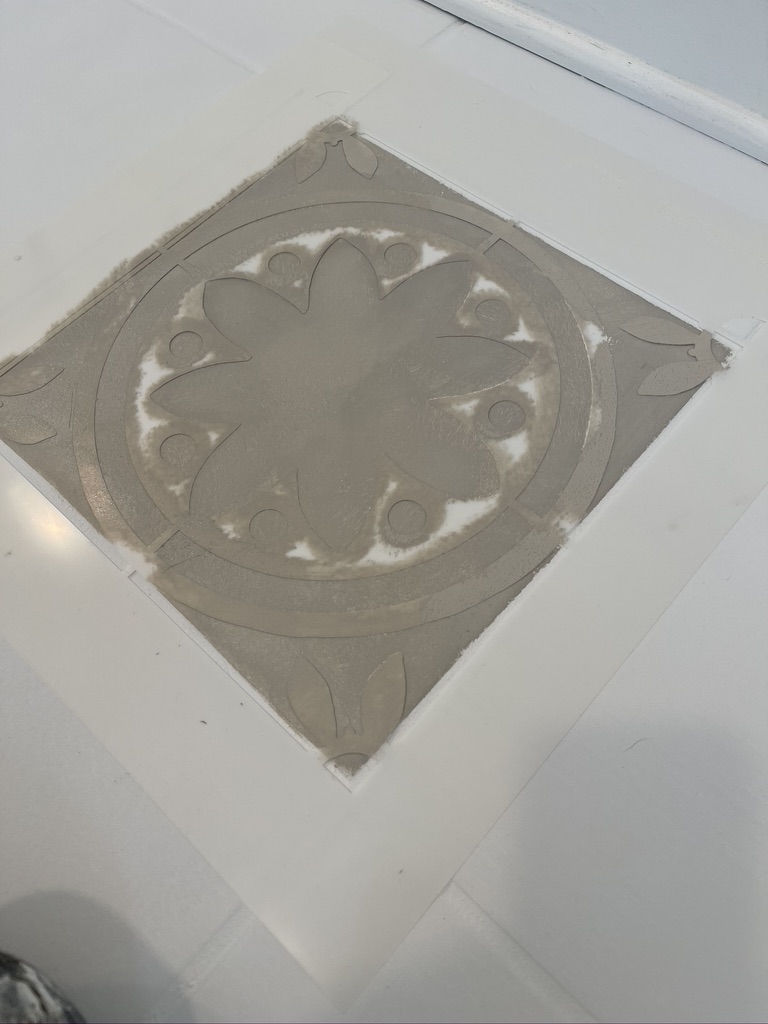
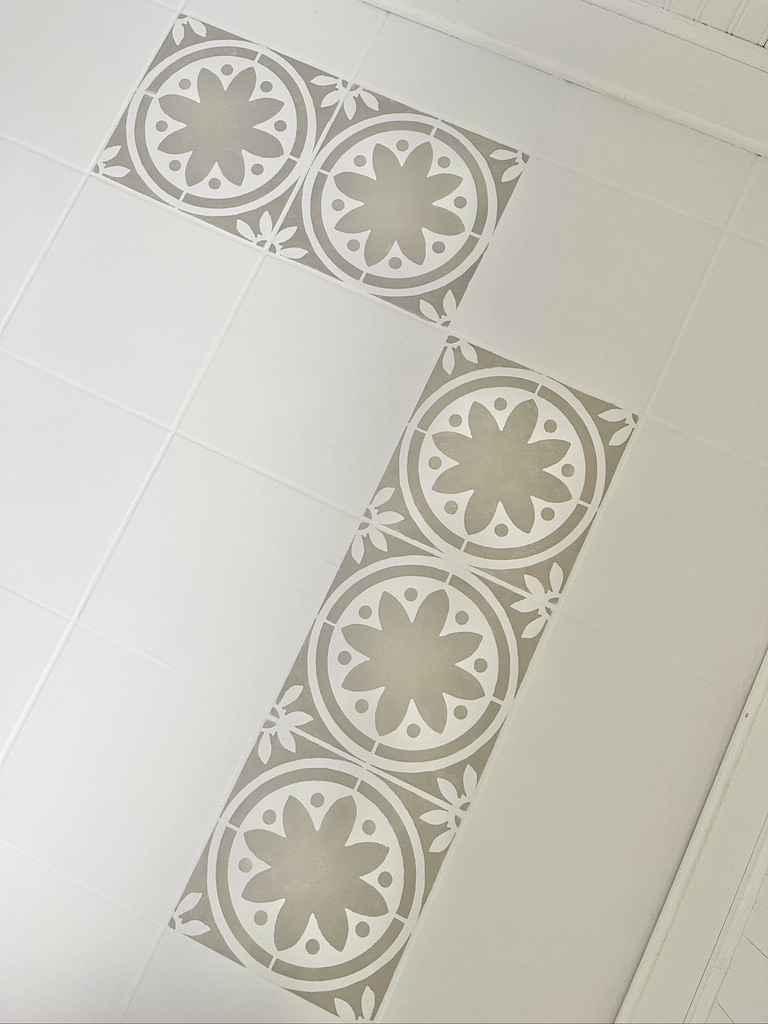
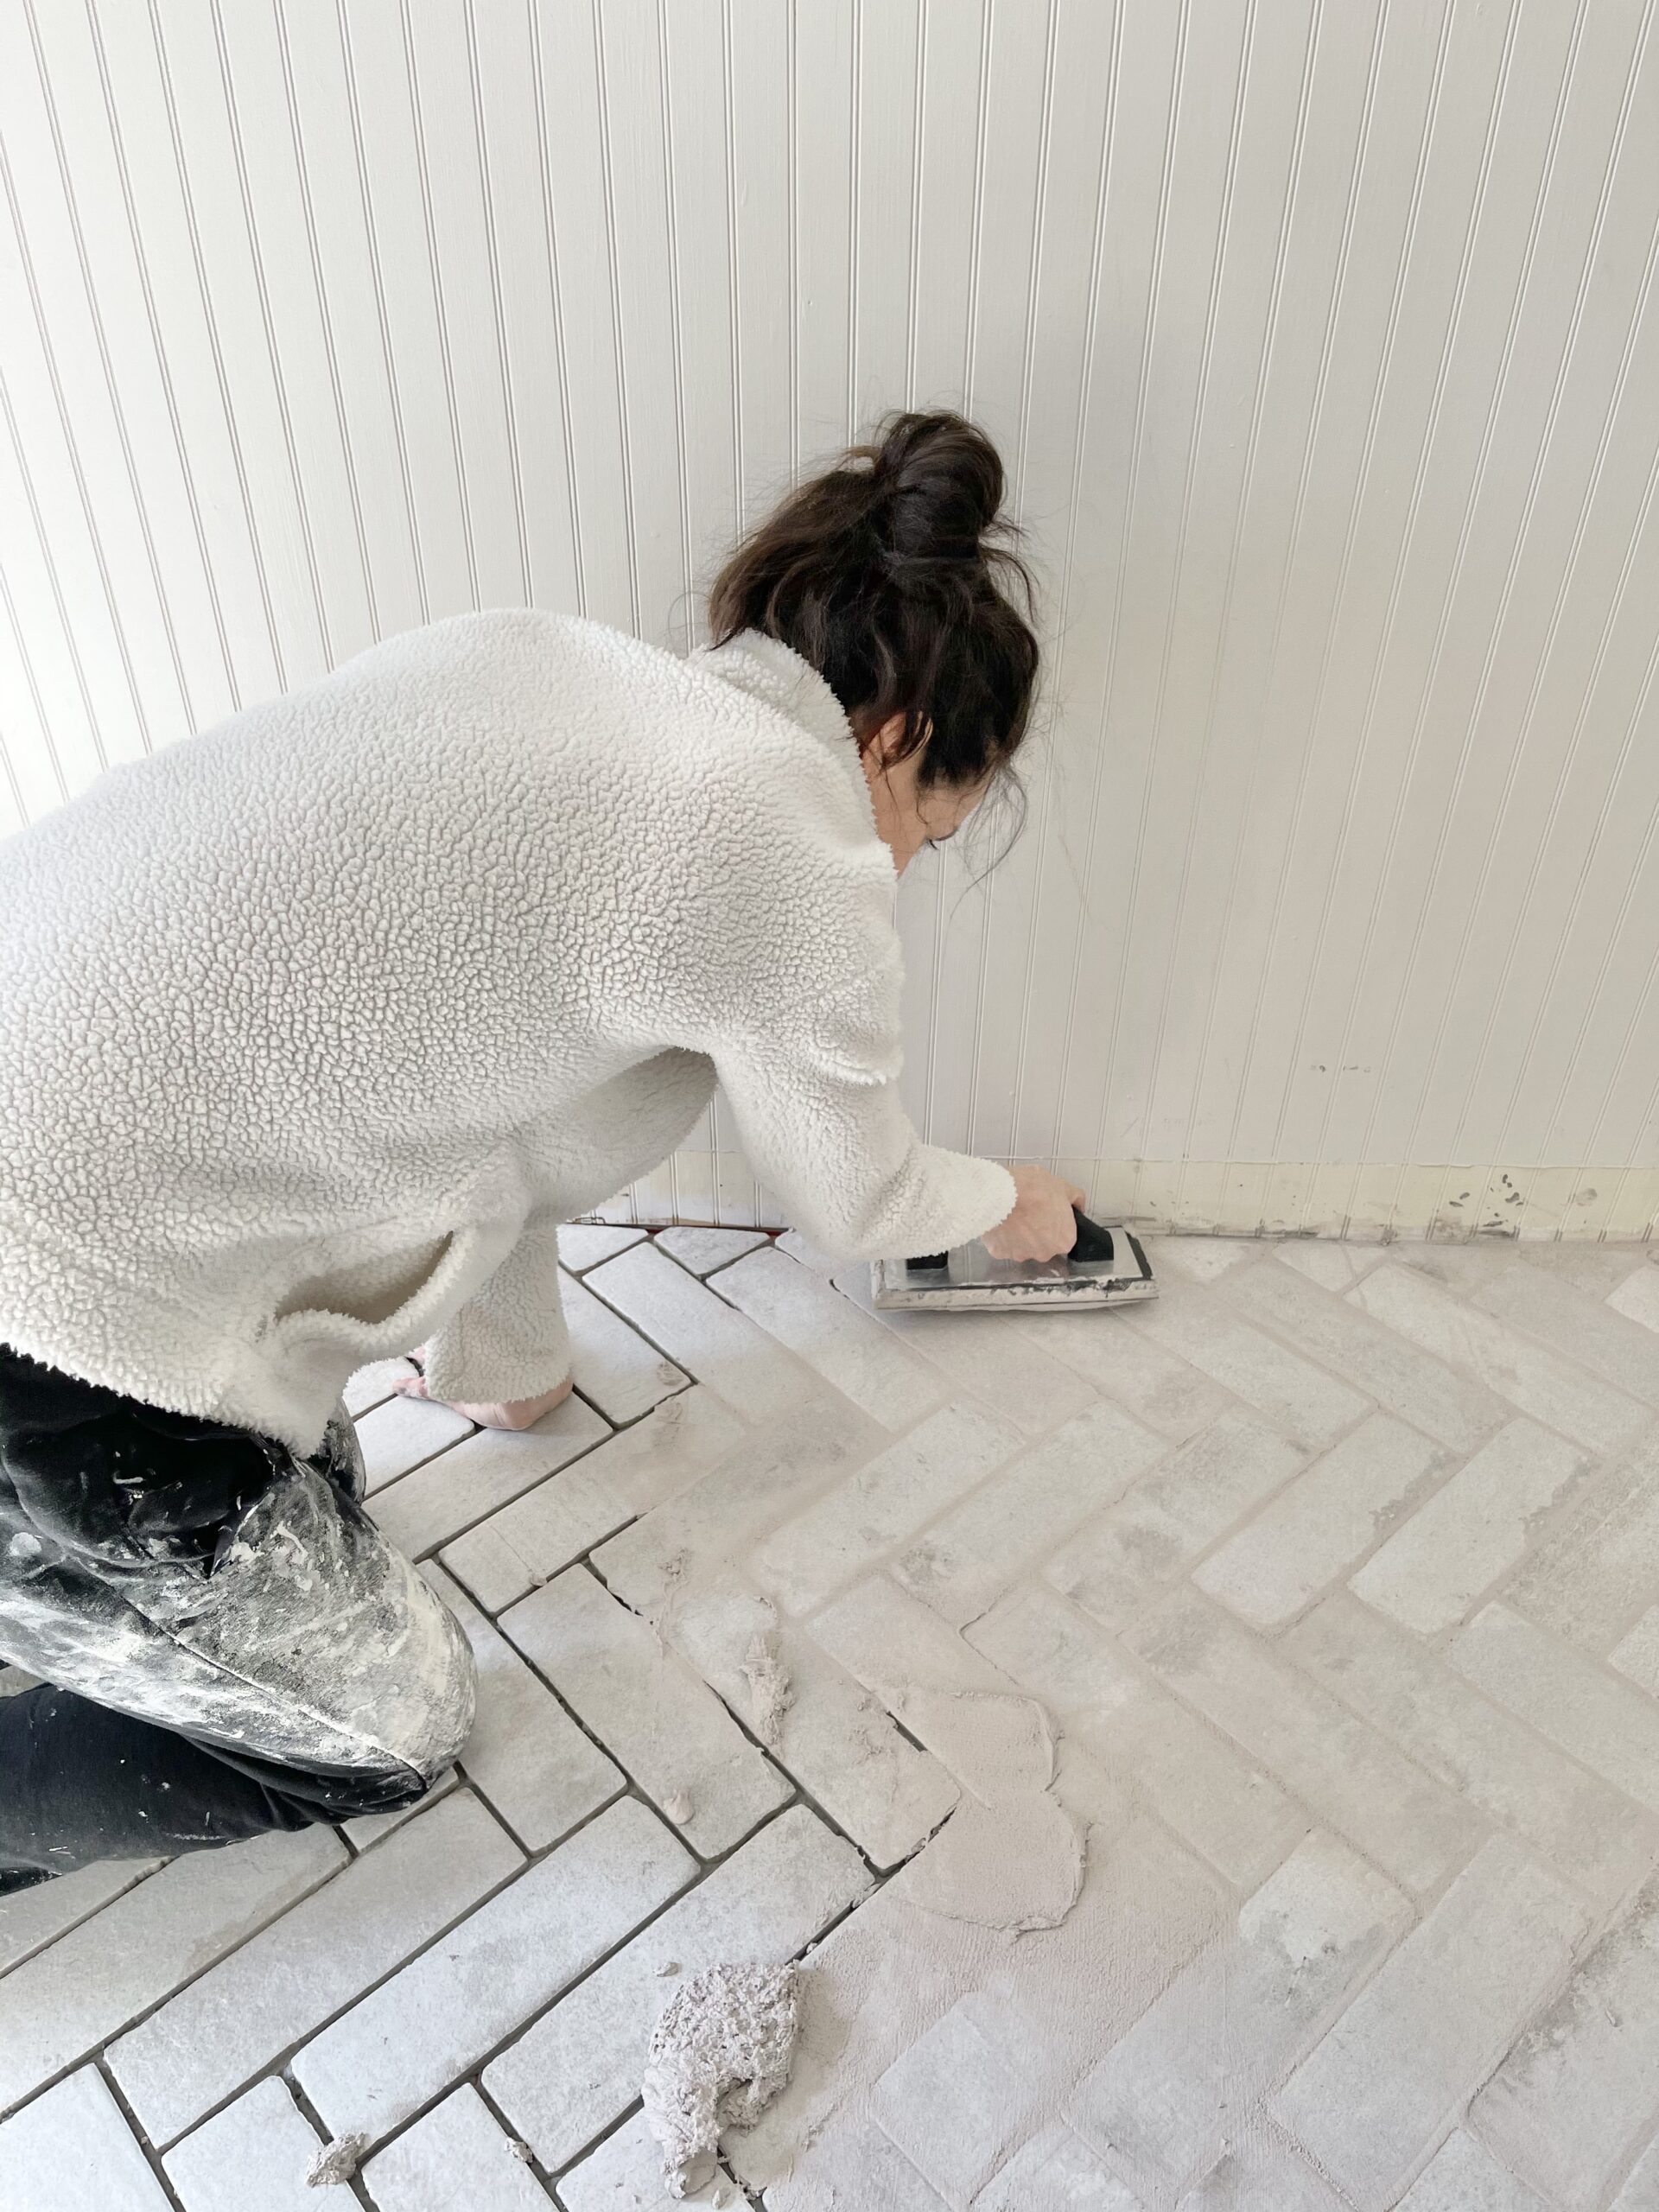
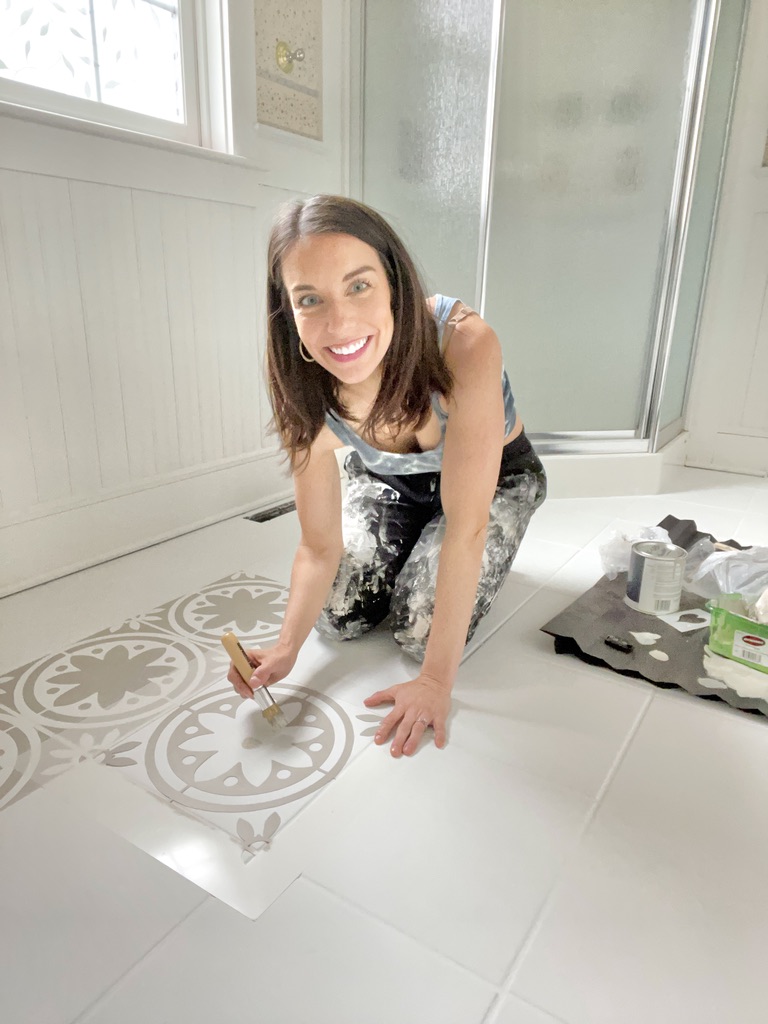
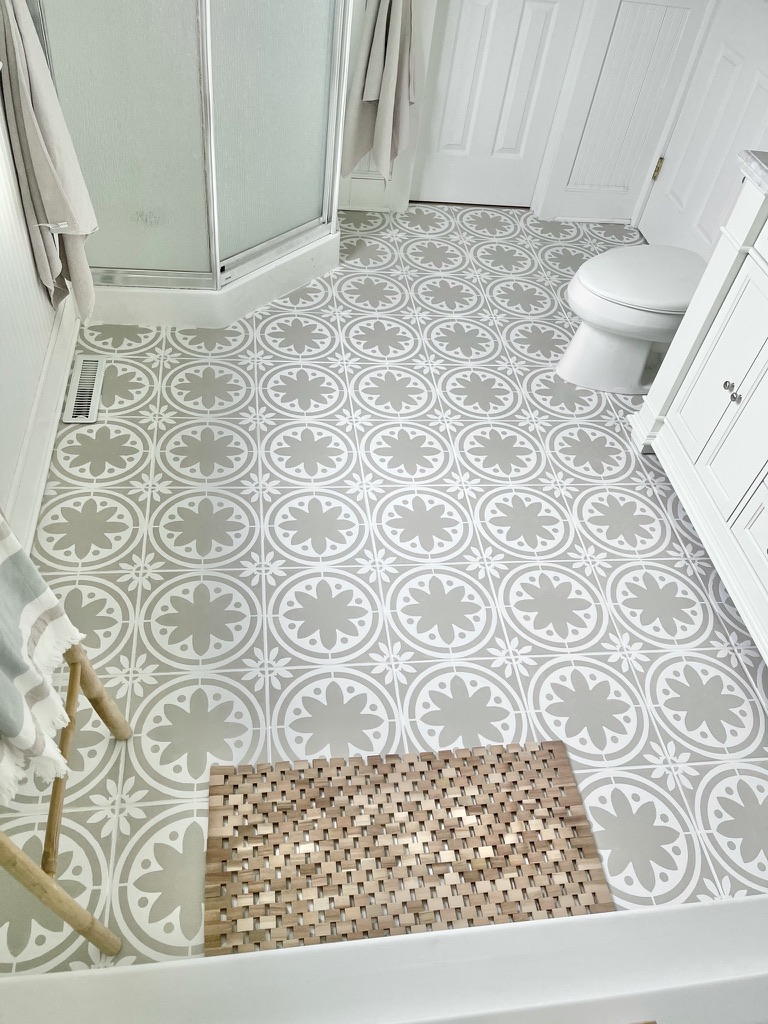
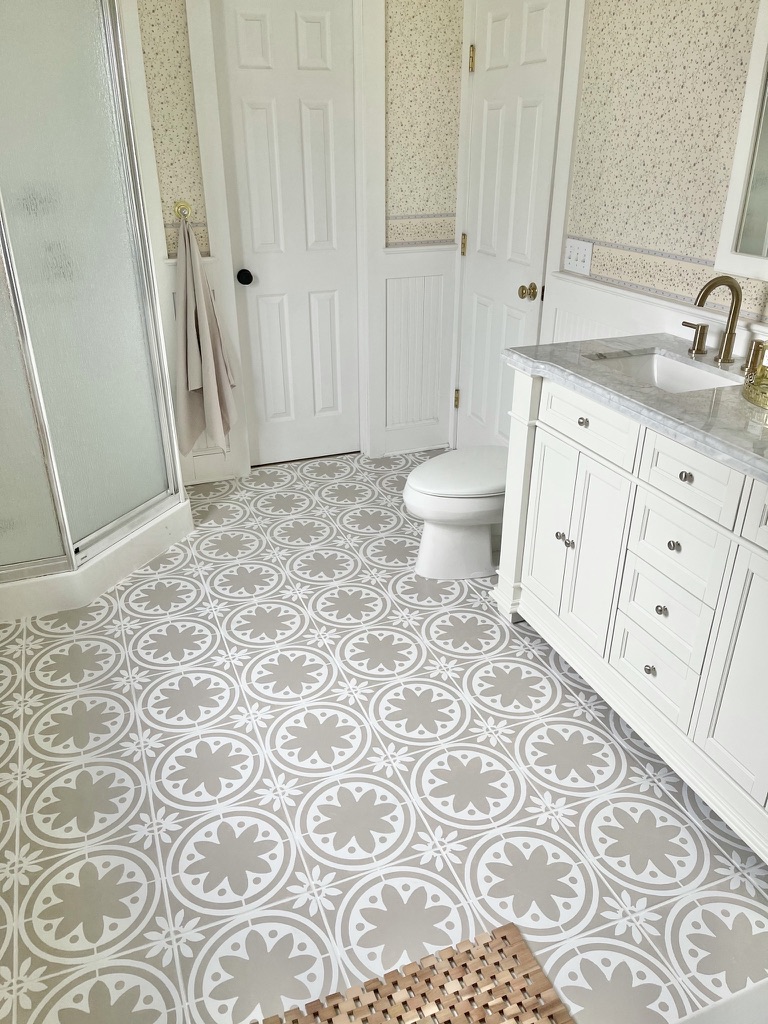
Step 3: Start stenciling! I purchased two of the Cutting Edge stencils in case I needed to cut one (which I ended up doing for some tight areas). To stencil, I kept a piece of cardboard nearby, stippling the tips of the stencil brush into my paint and dabbed off the majority of the paint on the cardboard. Then, I went in on the floor, working from the middle out and making sure that I was stippling directly up and down to avoid any paint bleeding under the edge. I used the grout line stencil to create clean edges at the side of the tiles. For video, go to the Floor Stenciling highlights on my Instagram.
In order to avoid smudging, I worked in a bit of a random way throughout the room, skipping tiles to let each dry before matching the stencil up onto the painted surface. This mean I had to be very aware of my lines so that they all matched up in the end. The stencils are high quality and very easy to use, so it didn’t take very much work at all!
On the edges, I was able to work the stencil into the angles by bending them slightly. This approach worked for almost every area, except around the toilet, where I ended up cutting one of the stencil into quarters to make things a bit easier. You could just remove the toilet, but I wasn’t really in the mood to get into all of that. AKA, I was getting lazy!
Step 4: Once all the tiles were stenciled, I used a detail angle artist brush to go through and touch up any areas with white or taupe paint. The tiles weren’t perfect, and I was ok with that, but there were some grout lines that got messy and some smudges that I wanted to clean up before sealing.
Step 5: Seal, seal, seal! I again let all the paint dry overnight, and then I sealed the floors. This was where the expertise at Vermont Paint Company came in handy. They recommended that I use the Masters Armor with Part B hardener to really lock things in. The paint I used to stencil is a floor paint, so that could handle decent wear and tear, but I adding the Armor and hardener would take that even further. I added the entire bottle of hardener to the gallon of Masters Armor and mixed well. Then, I used a dense brush to coat the edges of the floor and get into grout lines before using a fresh foam roller to roll the rest of the tiles. I let each coat dry for about 2 hours and ended up doing three coats.
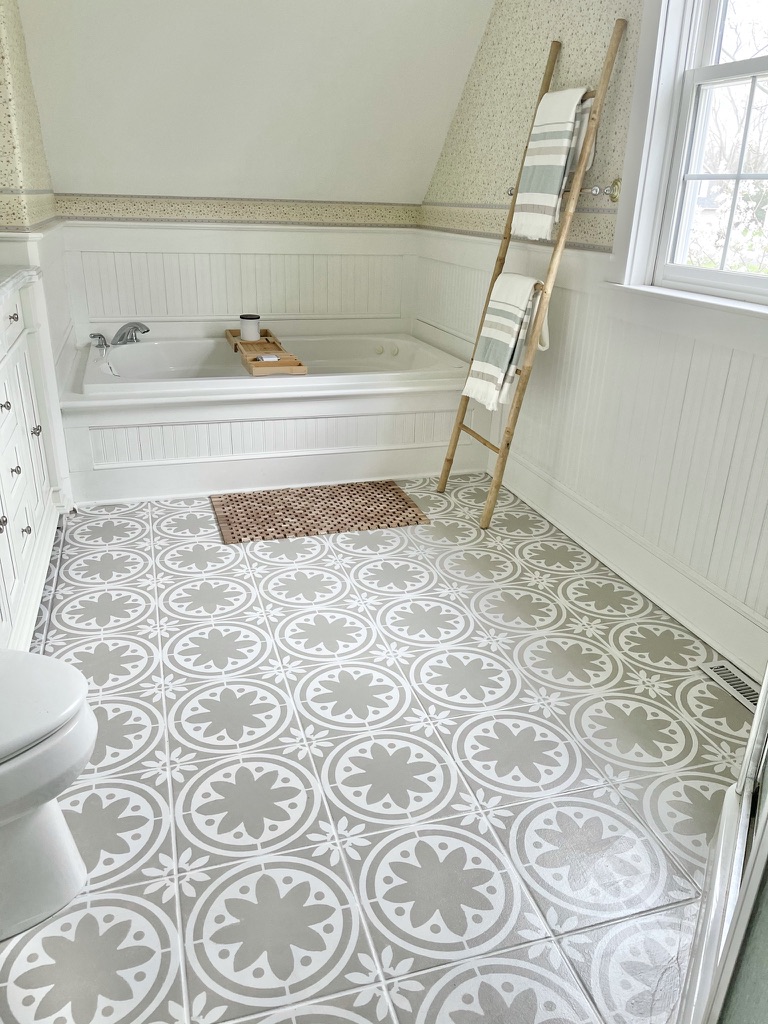
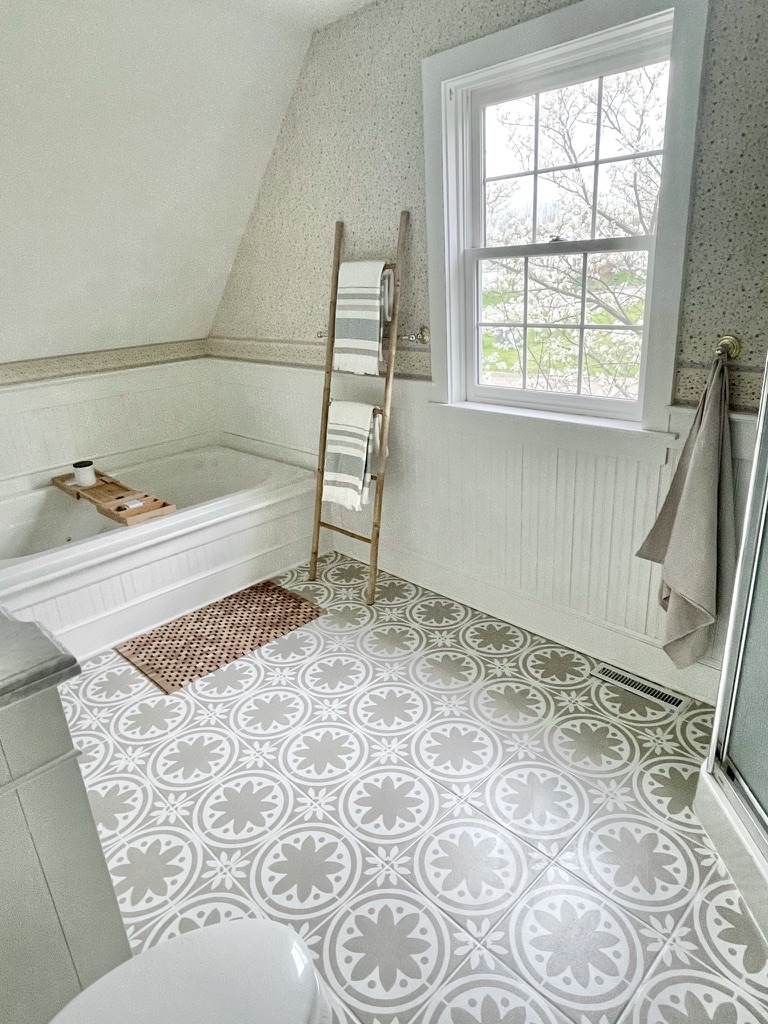
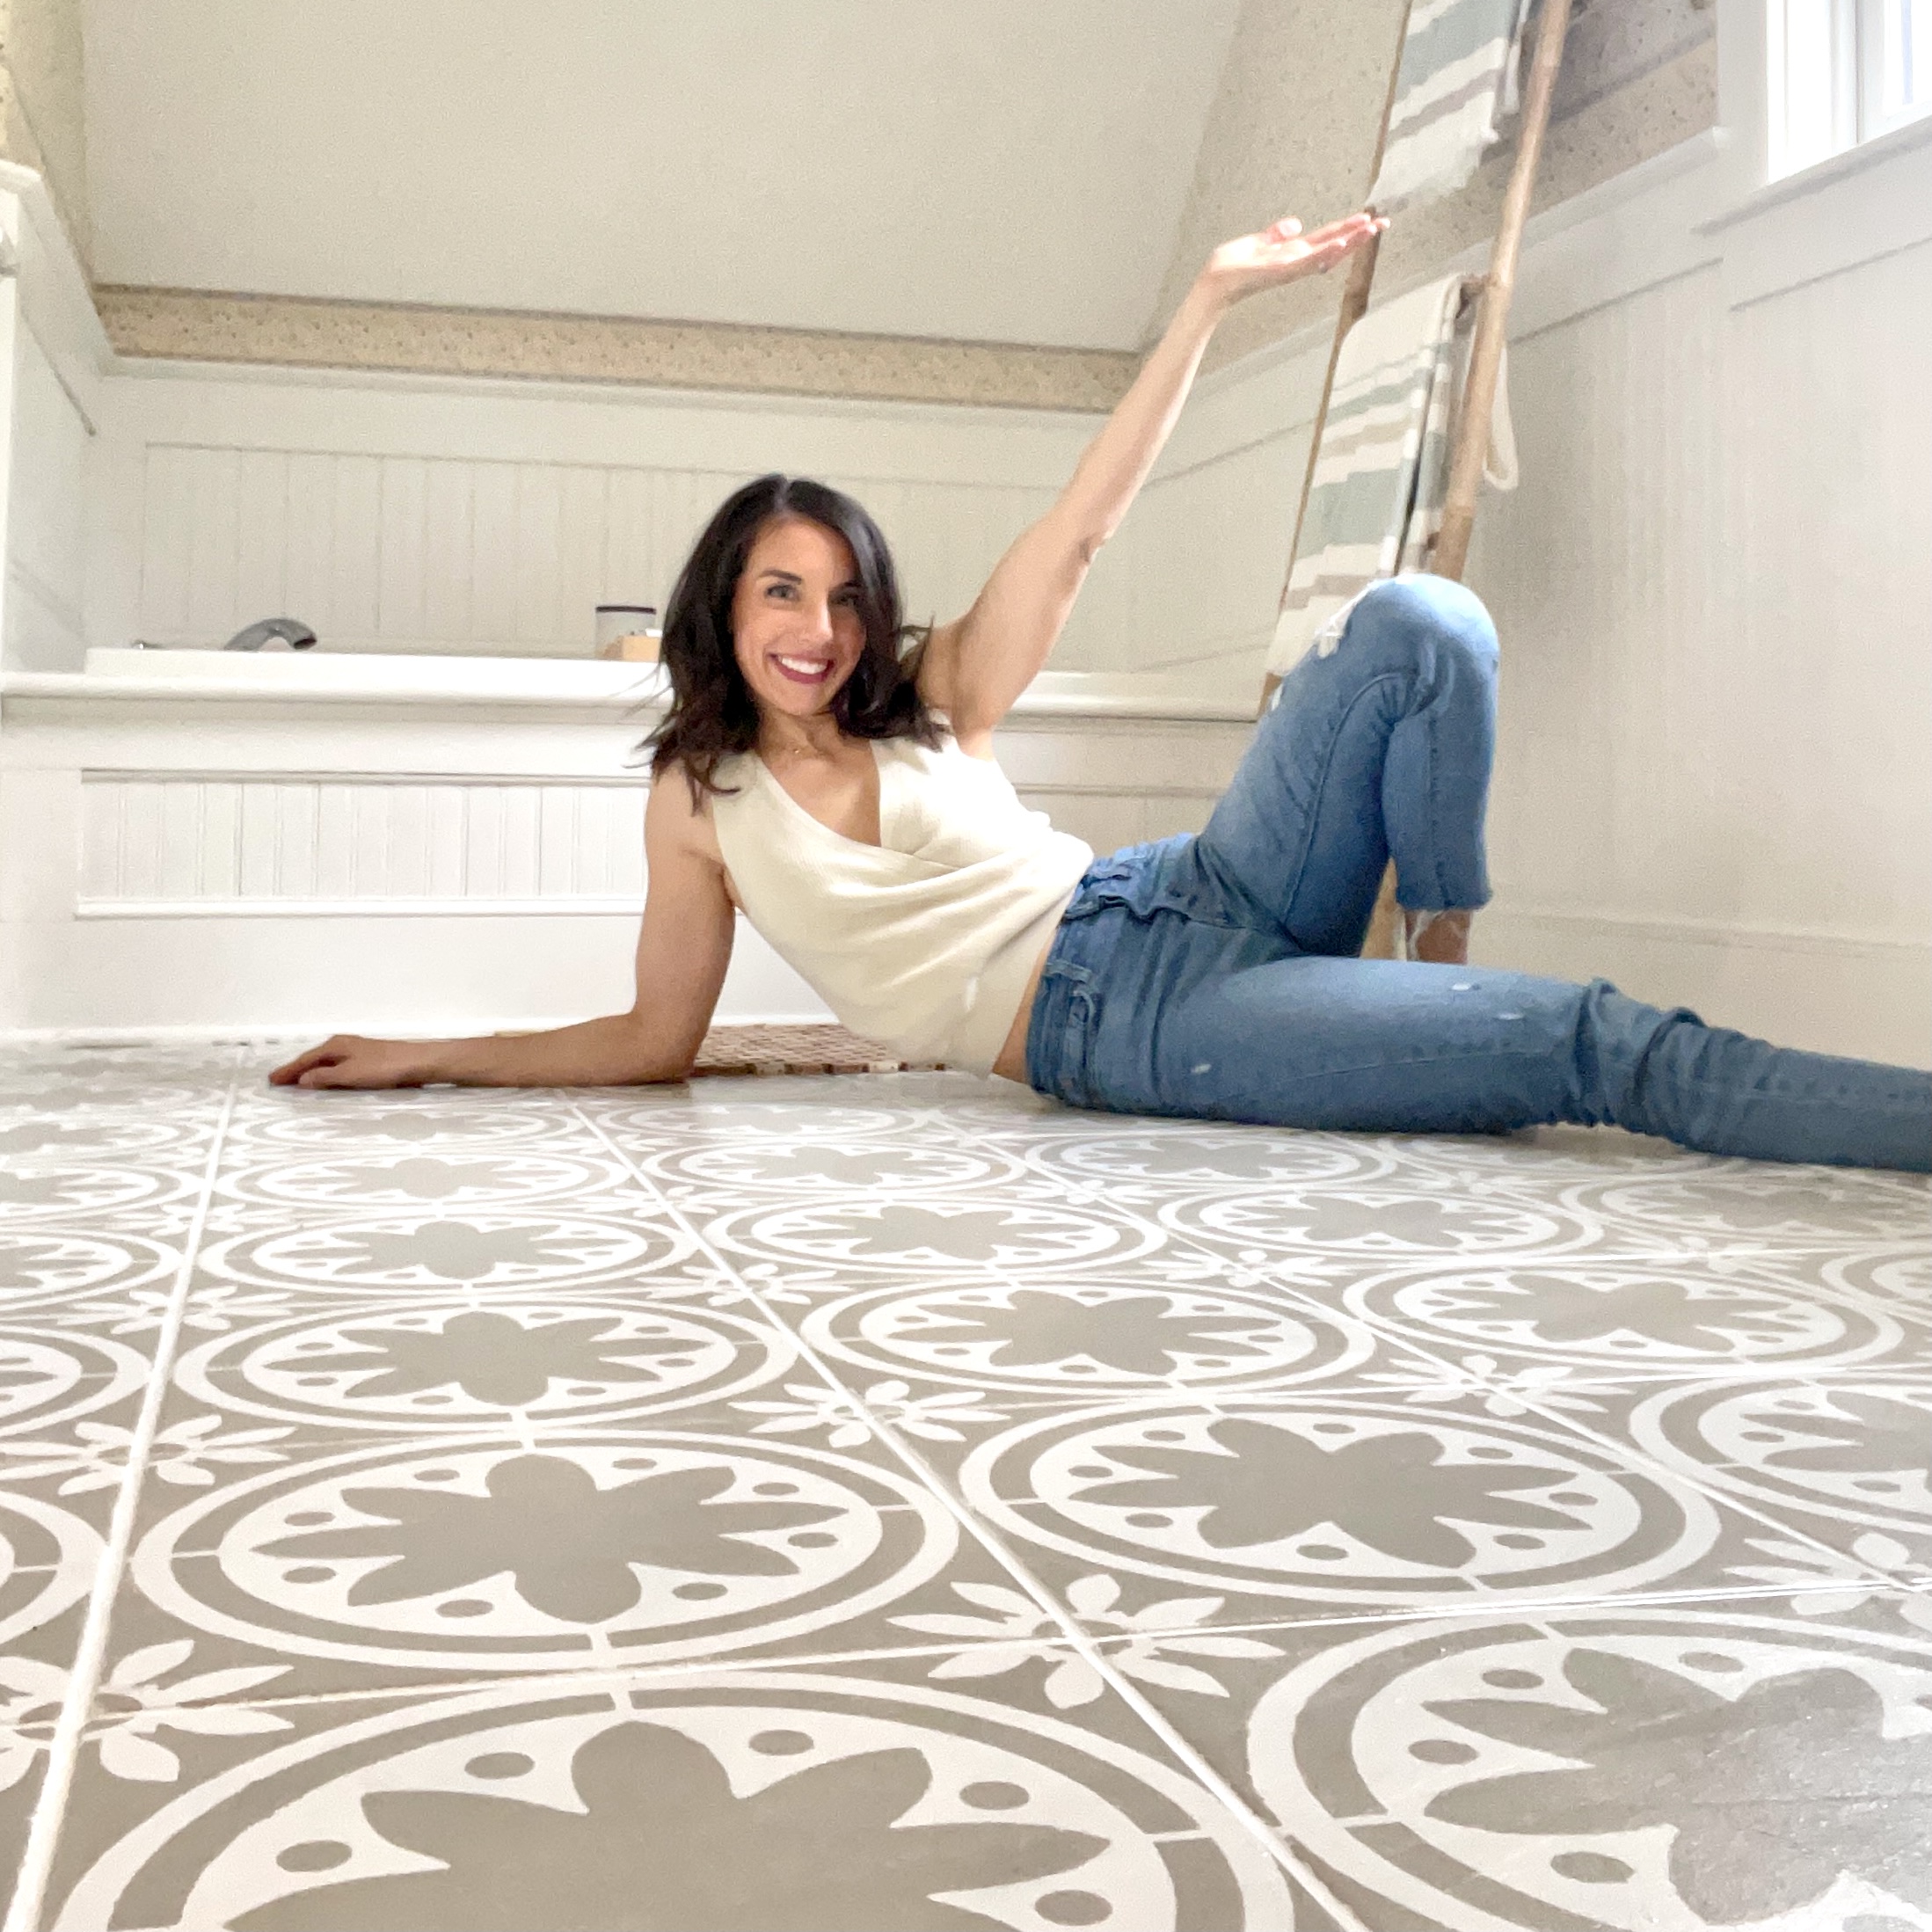
I’m still in disbelief that I did this. I love how it turned out and am glad we were able to update the floors without a full tear out. Now I just need to do something about that wallpaper…
Do you think you’ll give this a try? Tag me on Instagram if you do!